Step 1: Install IDS-117.01_Full
Double click “IDS-117.01_Full” application
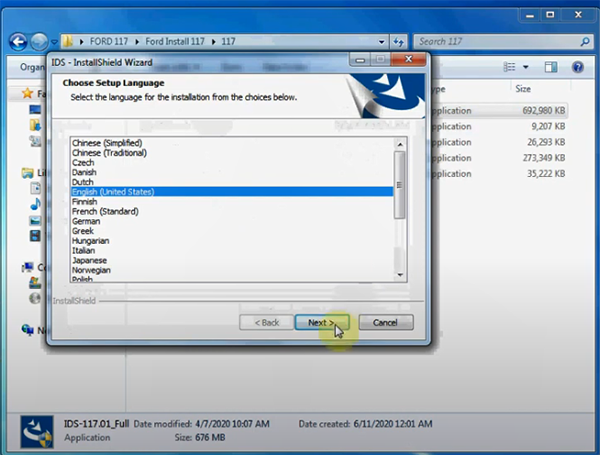
Select the language you desire
It prompts to restart the computer, just click “Yes” to continue
Start to install IDS Wizard, click “Next”
Accept the terms of license agreement, then “Next”
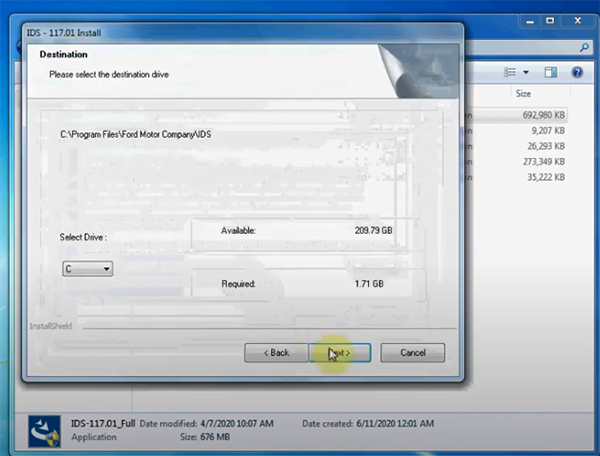
Select the destination drive
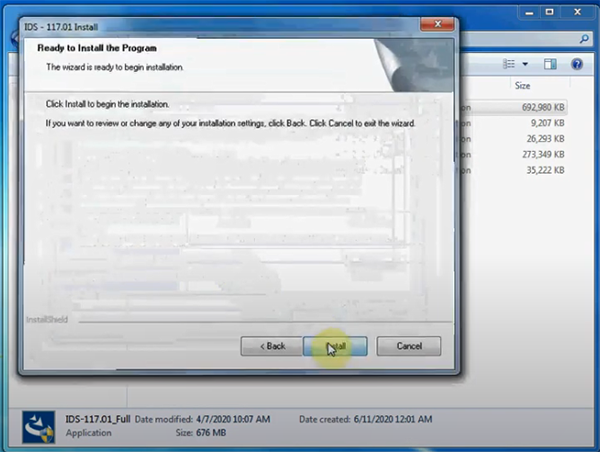
Ready to install the program, click “Install”
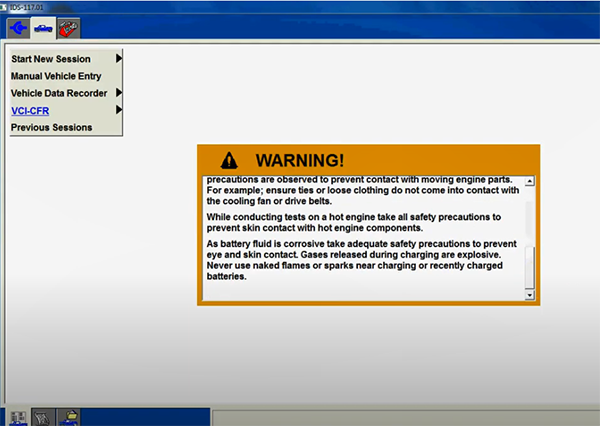
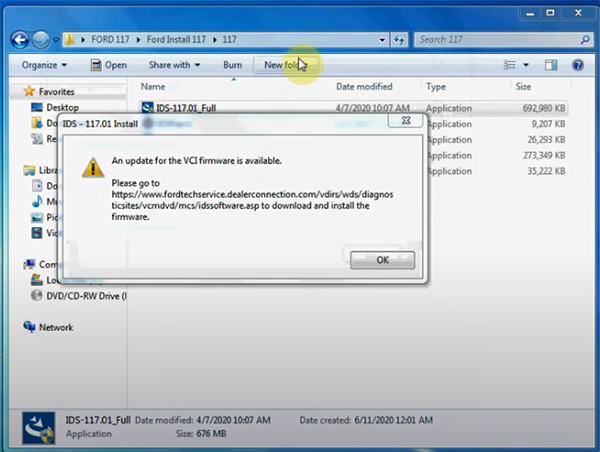
The update for the VCI firmware is available, click “OK” to continue
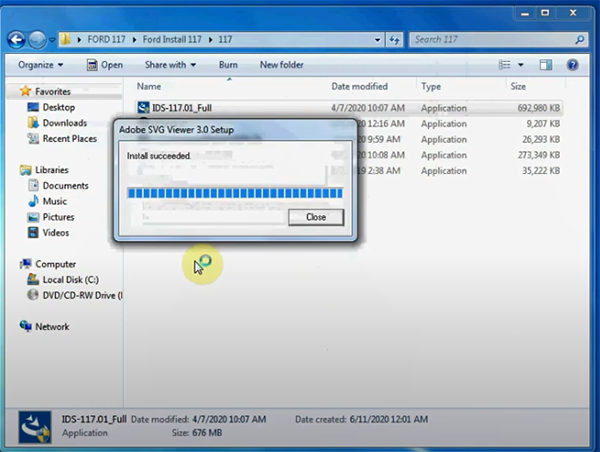
Install Adobe SVG Viewer 3.0 setup
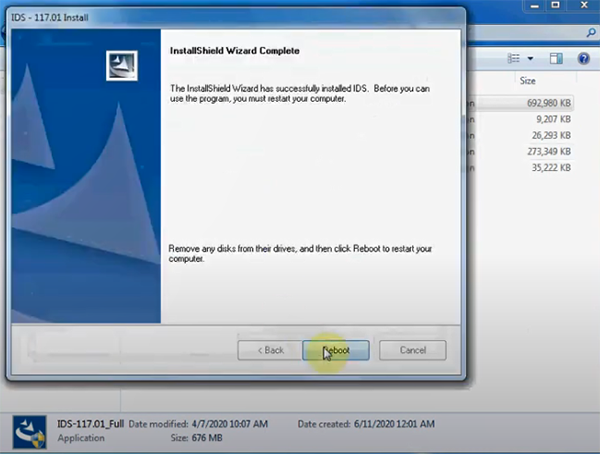
Finish installing IDS-117.01, click “Reboot”
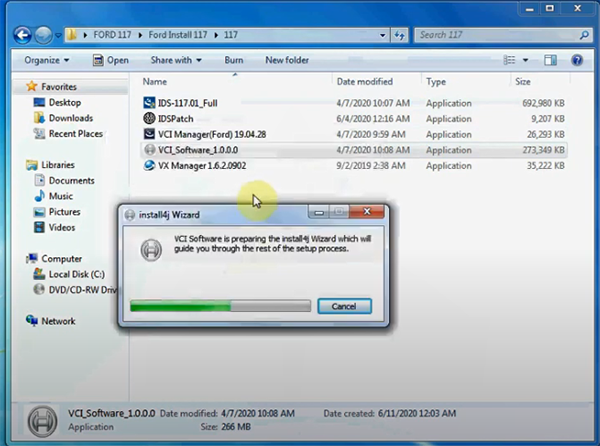
Step 2: Install VCI_Software (OEM driver)
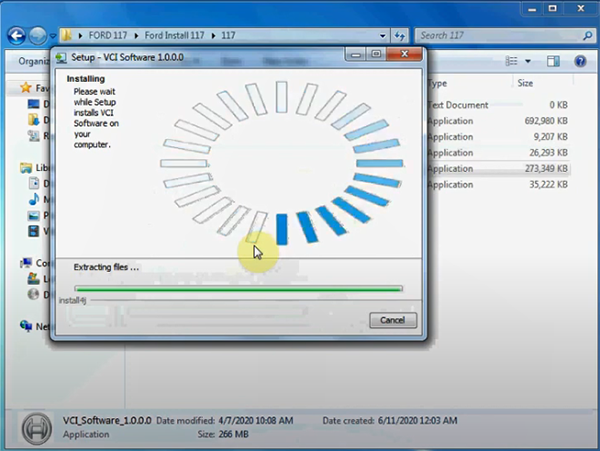
Double click “VXI_Software_1.0.0.0” to install
Start to install VCI software, click “Next”
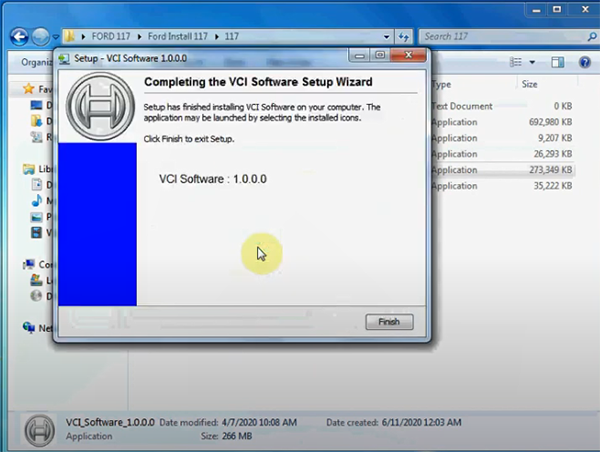
Completing VCI software setup, click “Finish”
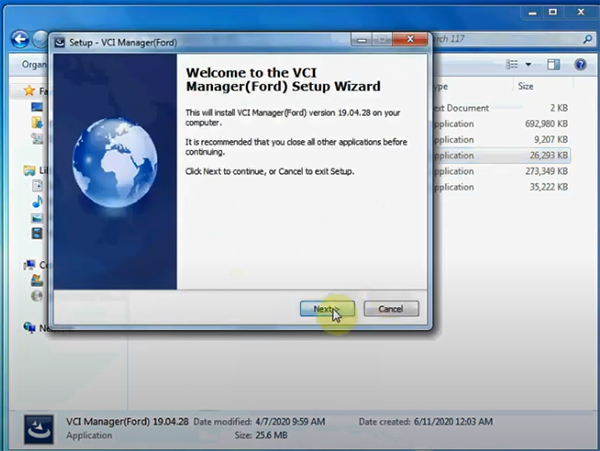
Step 3: Install VCI_Manager (VCX driver)
Double click “VCI Manager (Ford) 19.04.28”
Start to install VCI Manager, click “Next”
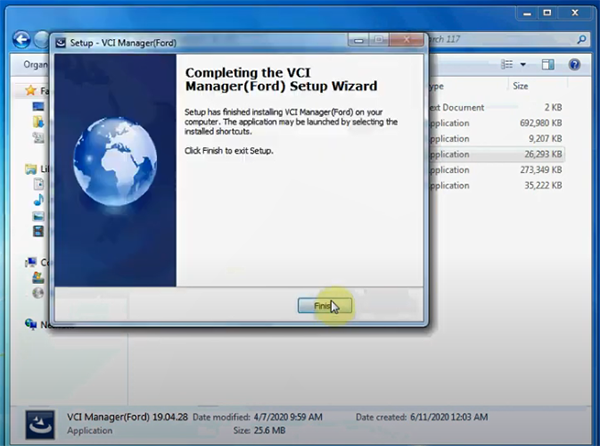
Completing the process, click “Finish”
Step 4: Install VX Manager 1.6.2.0902
Double click “VX Manager 1.6.2.0902”
Start to install VX Manager, click “Next”

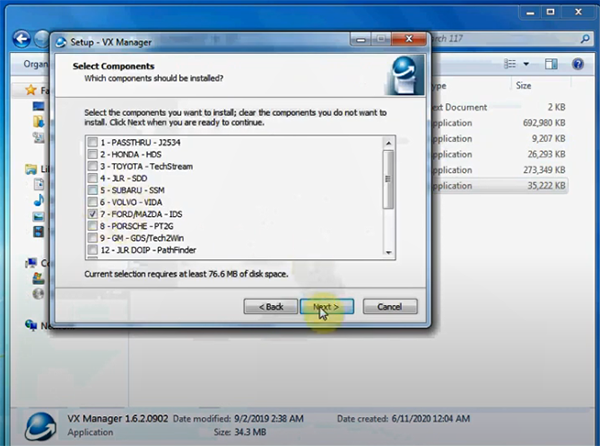
Select the components “7-FORD/MAZDA-IDS”, click “Next”
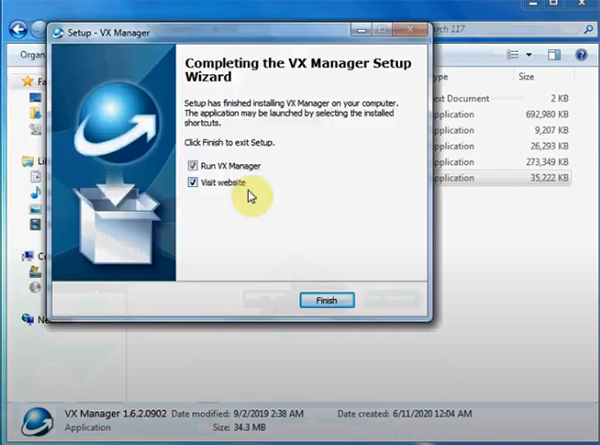
Finish installing VX Manager, click “Finish”
Step 5: Run IDSPatch
Open IDSPatch application
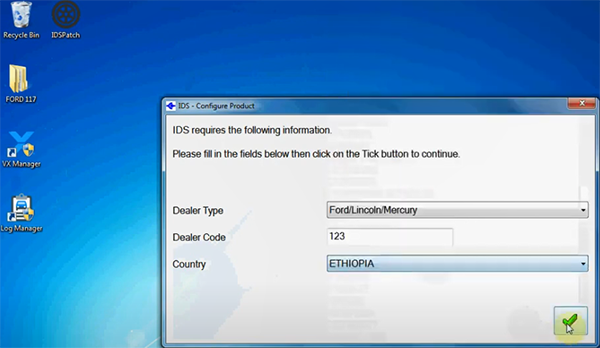
Select the corresponding dealer type, code and country, and click “tick” icon
When finish all the steps above, and then you can use IDS V117 software.