Part I: How to set up Super ICOM Pro N3+ as J2534 and DoIP Device?
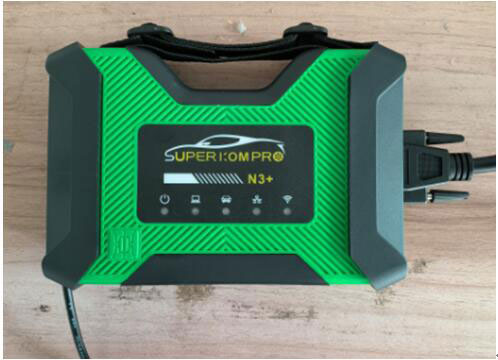
Super ICOM Pro N3+ is not only a BMW ICOM diagnostic tool but a J2534 and DoIP device. Here is the instruction on configuring ICOM pro N3+ as J2534 and DoIP device.
N3+ has a one-key switch button to switch between ICOM software and J2534/DoIP software.
1.How to Set up Super ICOM Pro N3+ as J2534 Passthru Device?
Download and install J2534 software (Toyota techstream, GM GDS2, Honda HDS, VAG ODIS etc, search software on our blog)
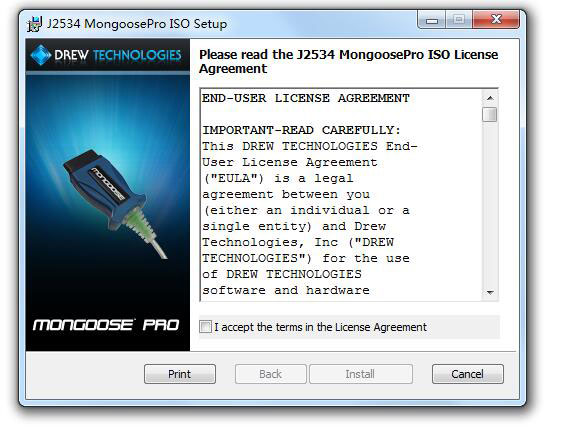
Download and install N3+ J2534 driver
Connect N3+ with USB cable, long press N3+ switch button for 3s, wait until USB and WiFi indicators on the main unit flash.
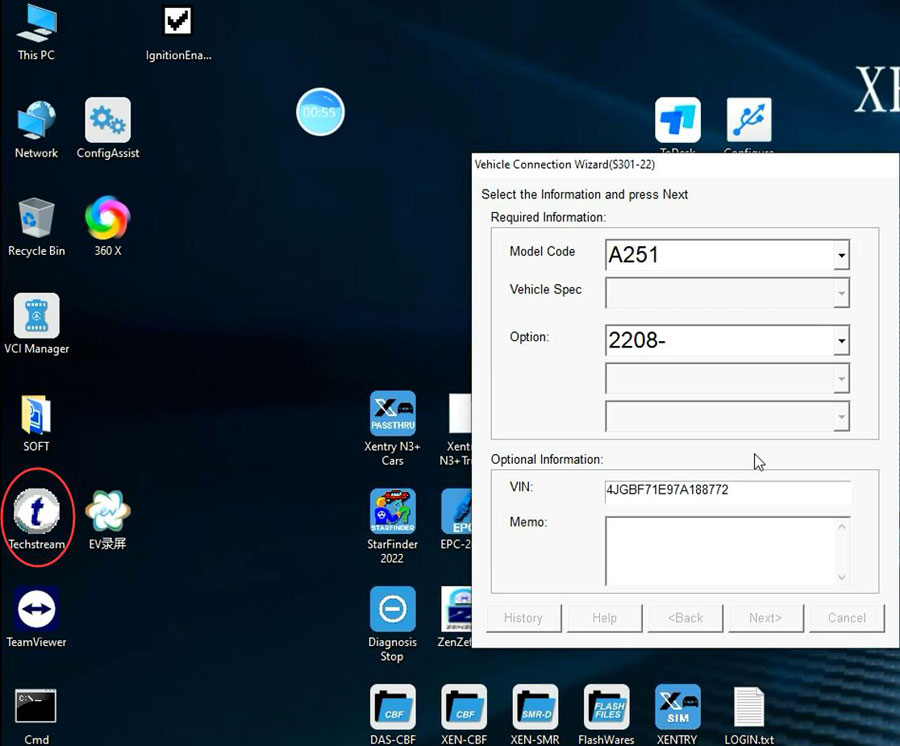
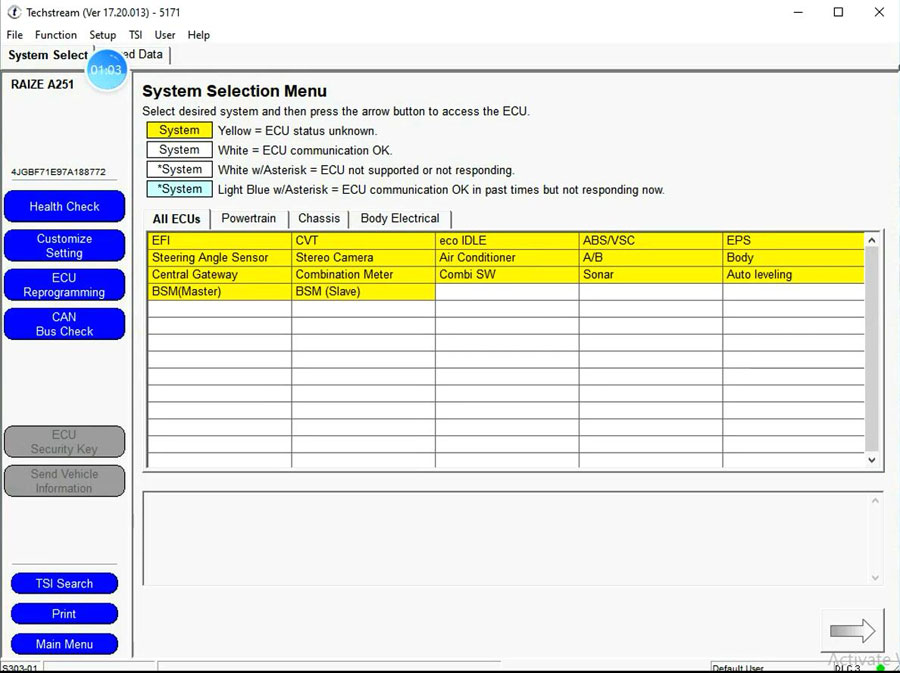
Run J2534 software, and select VCI type as mongoose vci.
Software is ready to use. For example, N3+ works fine with Toyota Techstream in Passthru mode.
2.How to Use Super ICOM Pro N3+ for Benz DoIP?
ICOM Pro N3+ is compatible with DoIP protocols. To enable Benz DoIP Mode, you also need to long press the one-key button on the ICOM Pro N3+, same as J2534 Passthru mode.
Apart from this, to use ICOM Pro N3+ with Benz Xentry/DTS you also need to have Benz license activated. (Devices purchased before Oct. 1st, 2023 will receive Benz license activation for free.)
After activation, you will receive a J2534 configuration tool to switch the device to DoIP mode. Then you can diagnose Mercedes Benz with Xentry software (#SS221-series, same software for MB SD C4 DoIP.)
*Note: You cannot use C4 software directly with the ICOM Pro N3+. Must have license activated and switch in config. tool.

Part II: How to connect Super ICOM Pro N3+ via USB and WiFi
Super ICOM Pro N3+ diagnostic tool supports USB and WiFi connection.
1.How to connect Super ICOM Pro N3+ via USB?
First time use the device requires to set up IP address.
1. Connect N3+ with power supply or power by OBD from car
2. Connect N3+ with laptop with USB
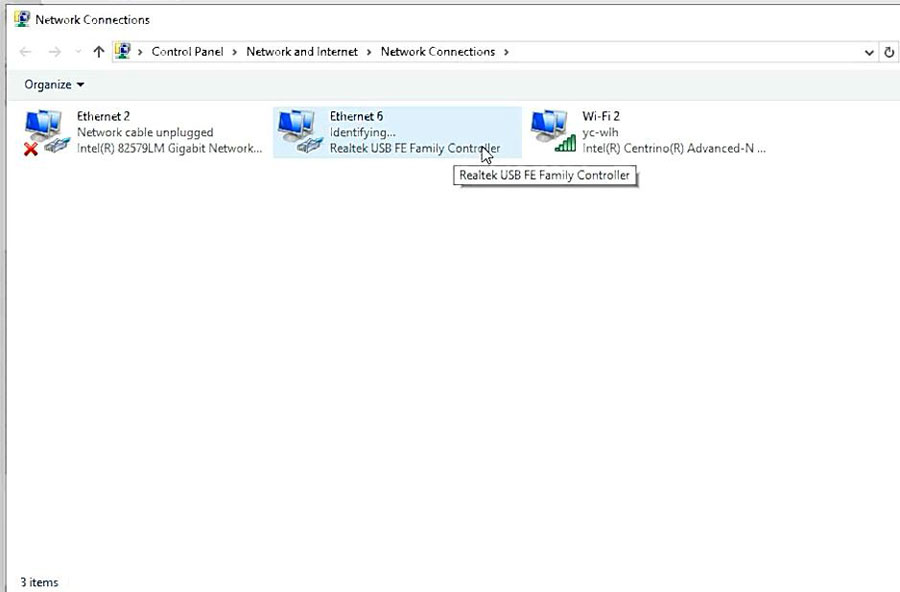
3. Go to Network Connection, find out Realtek USB FE Family Controller network
4. Click on Properties-TCP/IPV4
Set
IP address to 169.254.90.90,
Subnet mask: 255.255.0.0,
Preferred DNS: 169.254.255.1, click “OK”
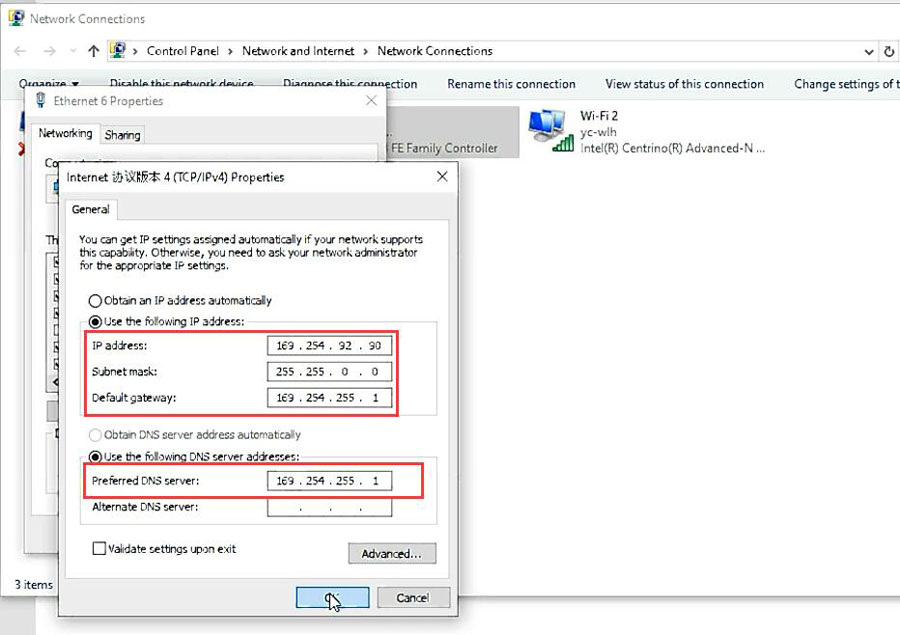
Note: Each N3+ is bound to 1 PC. If change another N3+, need to reset IP. After disconnecting the USB cable, the network icon will disappear, and you don’t need to set the IP address again when you use the N3+ after the computer is wired or wirelessly connected to the Internet.
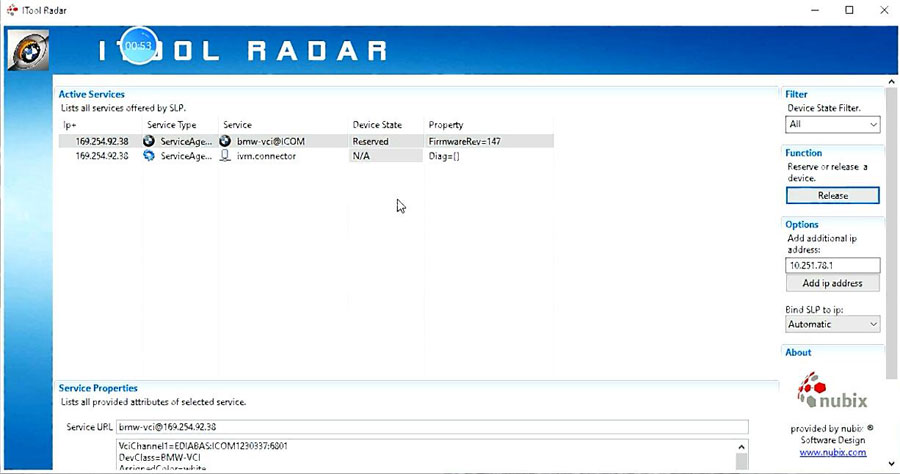
Then run ITool Radar, you will see ICOM device is connected.
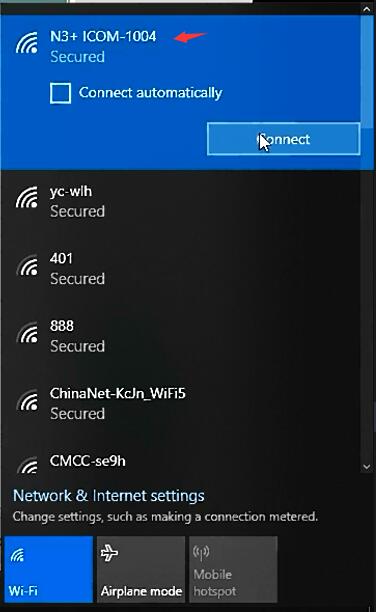
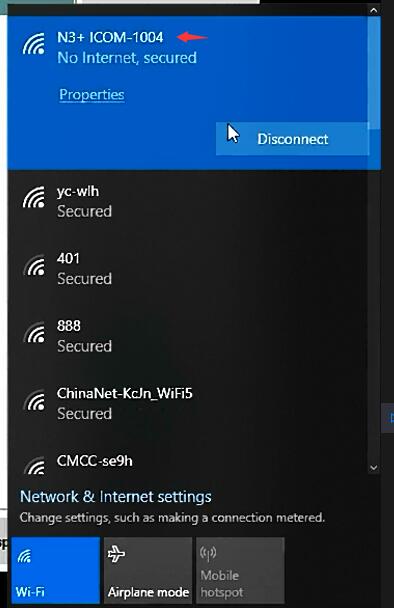
2.How to connect Super ICOM Pro N3+ via WiFi?
N3+ supports WiFi direct connection which is very easy. You have to disconnect USB cable before connecting with WiFi, otherwise you cannot see N3 ICOM SSID.
Search for WiFi name "N3+ ICOM-****" and pair with password 12345689.